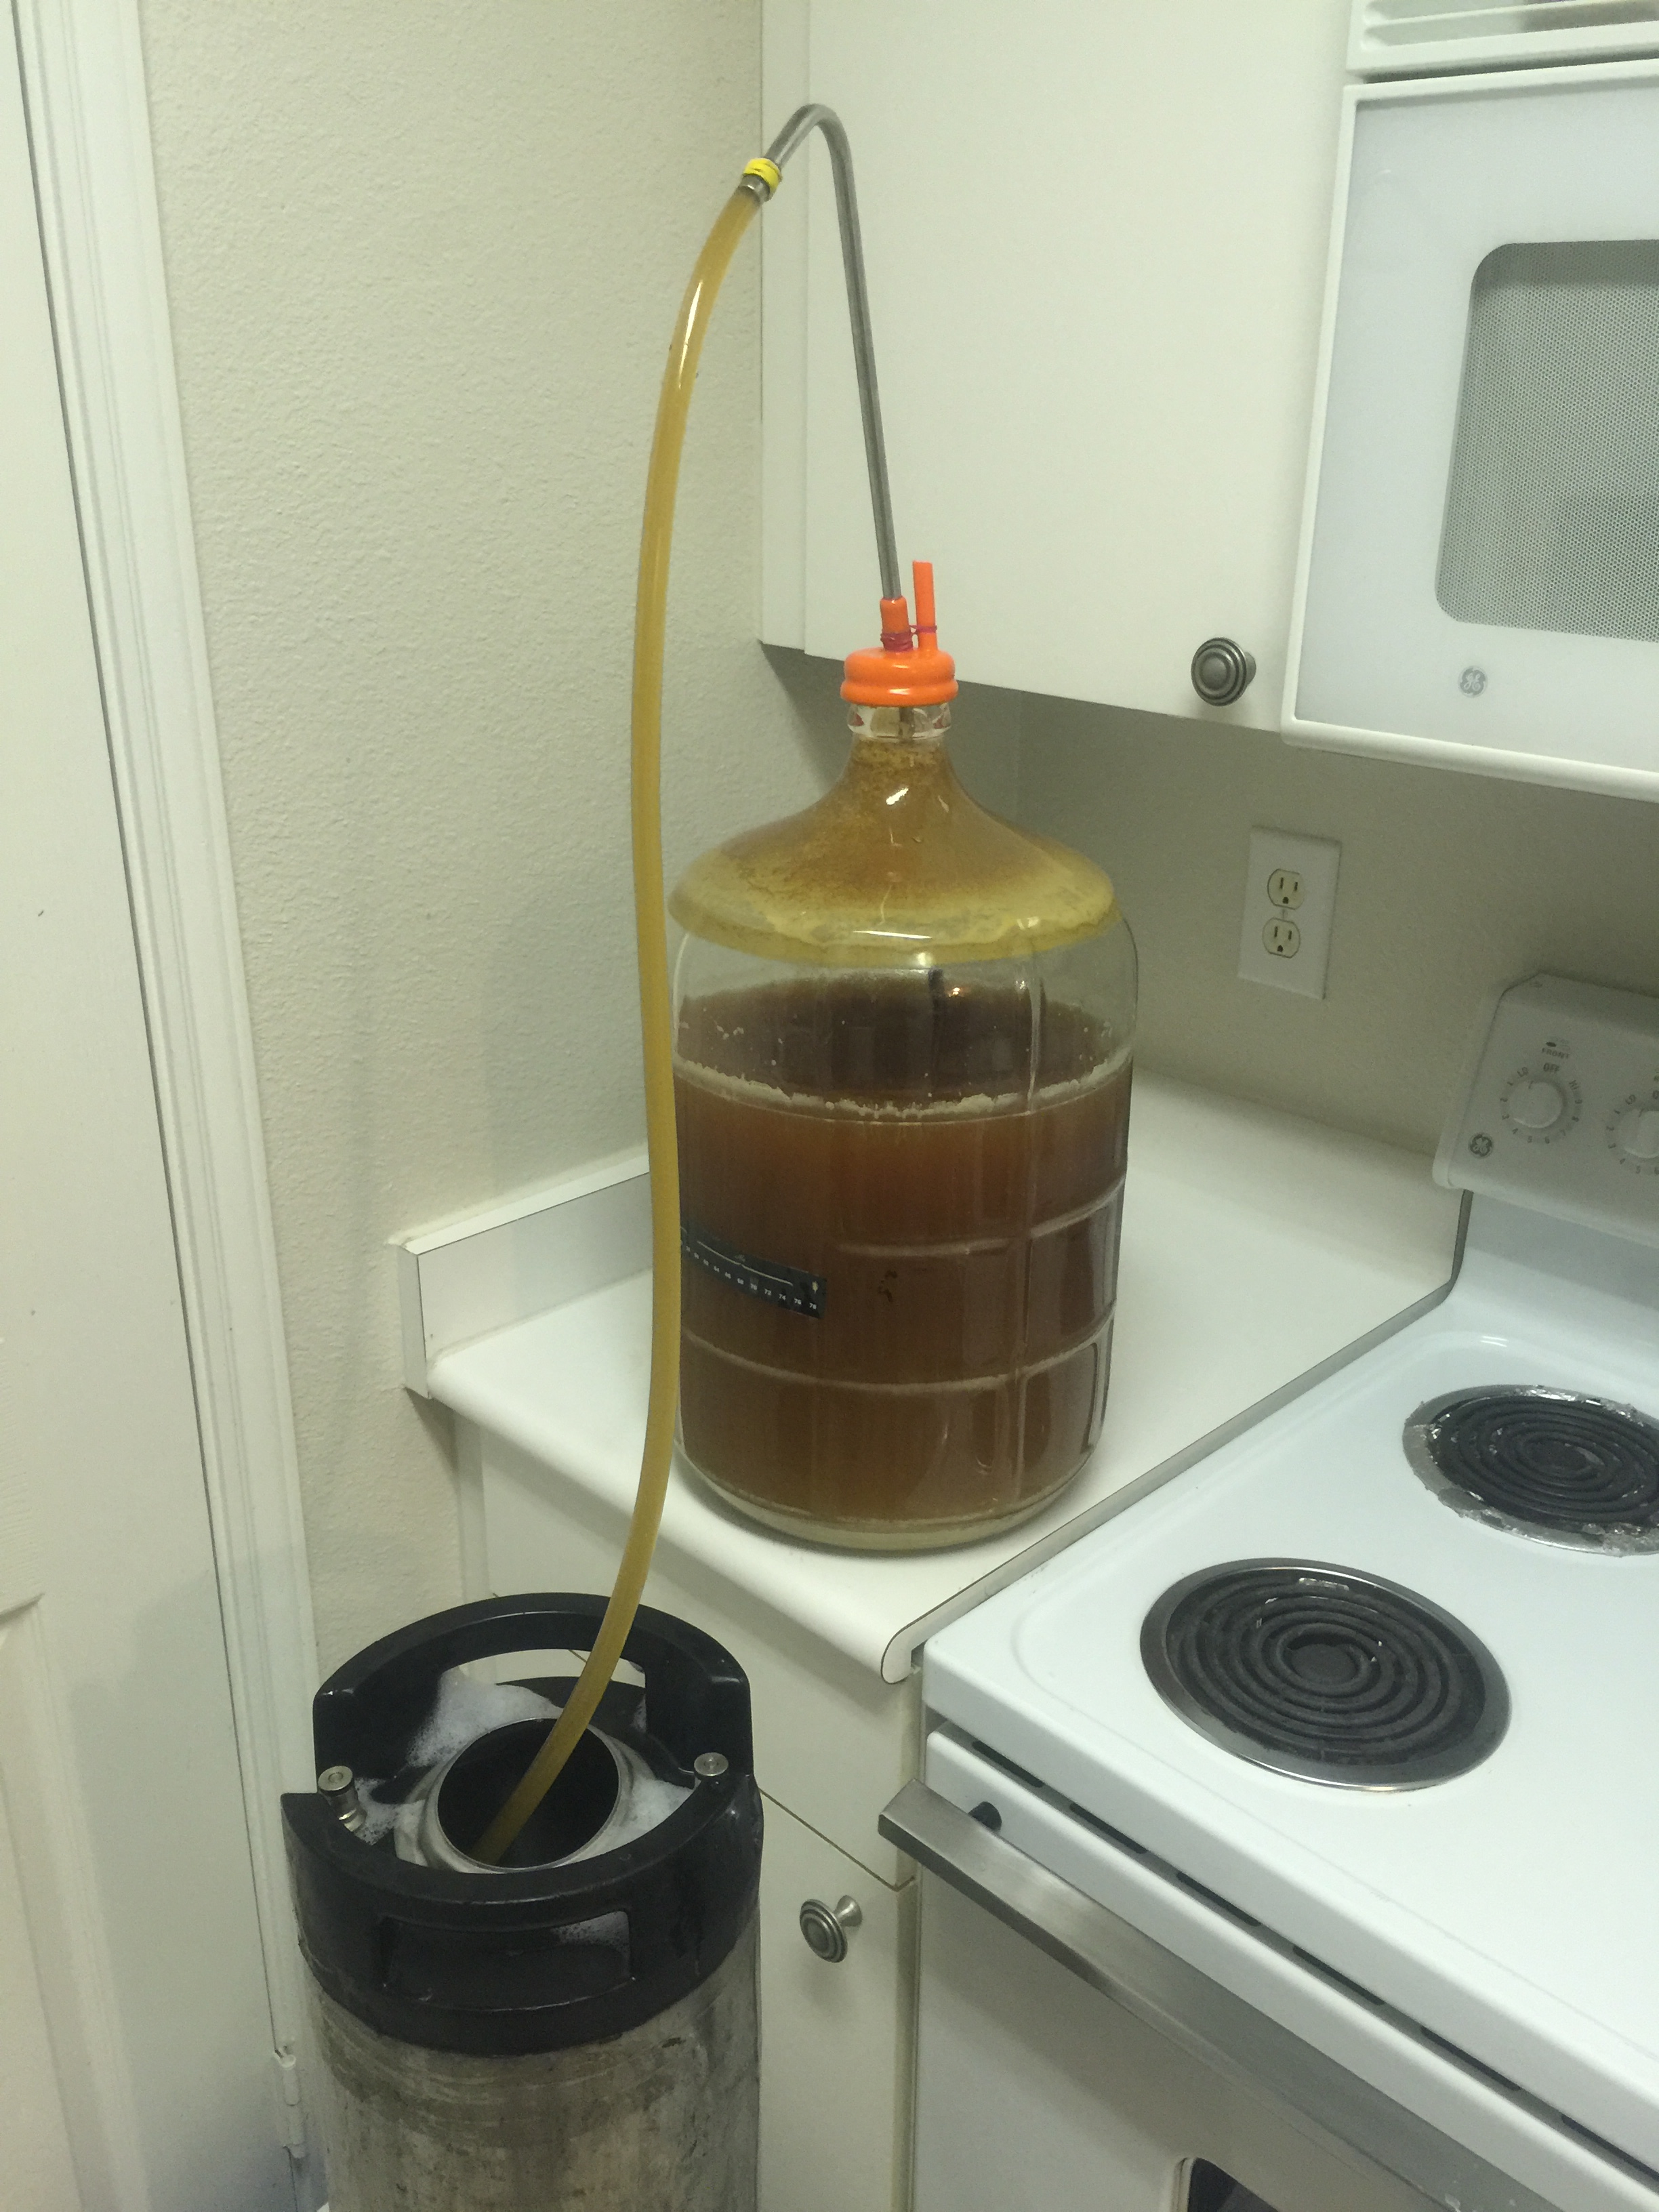
Kegging the Wheat IPA with 100% Columbus Hops
It’s been a busy past 10 months (or so) and unfortunately not with homebrewing in my small apartment. Three conference abstracts/presentations (for grad school) and a soon-to-be-announced brewing-related winter project kept me busy from regular brewing (and blogging). In fact, I haven’t been able to whip-up a batch since April. Luckily, this changes today as I’m getting back into brewing later this week and more importantly, back into blogging.
Upgrading My Homebrew Setup
With the spare time I did have over the past few months, I focused my efforts on upgrading my brewing system. In doing so, I acquired few items to make the brewing process a bit easier, improve the overall quality of my homebrew, and provide a greater deal of consistency and control (at least what’s achievable in apartment-scale homebrewing).
1. New pH meter
My old pH meter (Milwaukee Handheld pH meter) finally bit the dust. Since I wasn’t happy with it in the first place, I went with an upgraded version through Bluelab. Their bench top combo pH meter was well reviewed on Amazon, especially for the pH probe longevity. Also, as a bonus, it included an integrated total dissolve solids (TDS) meter (to measure total dissolved ion content in water) which was also necessary for the second item below.
2. Apartment compatible RO water filter system
Austin water is a bit on the carbonate/alkaline side, so I often cut my tap water with store-bought filtered water for light-colored mashes/brews. After dozens of batches, I finally became tired of carrying five gallons of RO water up several flights of stairs to my third floor apartment and now am capable of filtering my apartment tap water through a countertop RO system (by APEC). While more on this will be written at a later time, this system is not only cost-effective (for my grad school budget) but also dropped the total dissolved solids of my Austin tap water from 170 ppm to below 5 ppm, perfect for building custom mineral profiles for my various brews!
3. New chilling methods through a submersible pump
Living in Texas makes chilling wort a challenge most of the year especially during the hot summertime months. The wort chiller I have works well at chilling small batches to ~120 F in 10 minutes; however since my tap water runs around 75 F most of the year, I have to rely on ice bath technology to chill the remaining 50 F achieve to pitching temperatures. As you can imagine, this method is a bit time-consuming and an extra pain for lagers brews. However, now with this 1/5 hp submersible pump (from Superior Pumps), I can push ice water into my wort chiller without having to construct an ice bath. Based on testing, this submersible pump enhanced cooling method should be capable of reducing my chilling times, hopefully achieving ale and lager pitching temperatures within 30 minutes (an overall big improvement)!
4. Dissolved Oxygen (DO) meter
Lastly, I’ve always wanted a DO meter to measure the amount of dissolved oxygen in my wort prior to pitching. After some debate (and a bit of money), I finally bit the bullet and purchased a DO meter. While more will be reported on this later, I’m planning on measuring and calibrating my forced aeration system (either through time or flow rate or both) to achieve repeatable wort O2 levels to further dial in my fermentation process. Before I can do this though, I’ll have to first figure out how to operate and calibrate the mildly confounding contraption.
-

- 4 o’clock flower
-

- Johnny Jump Up violet
-

- Growing pumpkin
Apartment Garden
Even given my busy schedule, I was still able to plant this year’s apartment garden. While I planted mostly flowers, as seen in the pictures above, I decided to be ambitious with one project: trying to grow a pumpkin on my apartment balcony. As seen in the picture above, the small growing gourd seen above is a small varietal pie pumpkin, growing to 2-4 pounds at full maturity. My hope with this project is that the pumpkin will grow into a smallish ~ 2 pound pumpkin so that I can brew a small batch spiced pumpkin ale come the harvest season. If I’m lucky (and the Texas summer isn’t too harsh), I’ll be able to harvest this one and post about its brew day. Time will tell!
Blogging Plans
As mention previously, I’m planning to re-start blogging on a regular basis through the rest of 2015. In particular, I hope to expand on small batch brewing techniques series along with more apartment brewing tech articles including some of the above mentioned devices.
What recent upgrades have you made to your homebrewing setup? Leave your experiences in the comments section below. Also, let me know any new content you’d like to see on this blog.
Cheers and happy brewing!

Good to have you back!
Thanks for commenting on my blog! It’s not everyday the Brulosopher comments on your blog! Glad to be back blogging and brewing. Cheers!
Which DO meter did you decide on? Link to the pH meter?
Always curious to hear people’s experiences with different brand instruments.
I believe it’s the Milwaukee Instruments brand. It’s more-or-less an entry-level version; however, the few times I used it this weekend appeared to work great (stable, reproducible readings, accurate at least confirming the DO content of my air near sea-level). Will post a review sooner than later. Cheers!
Pingback: Back to Brewing! | The Apartment Homebrewer
Pingback: The Idiot’s Guide to Homebrewing: My First Book and Some Mega Thanks! | The Apartment Homebrewer
Pingback: Enjoying a Homebrew Flight | The Apartment Homebrewer
Expect more information on reverse osmosis can help me take care of the vegetable garden easier.